How to Dry Herbs
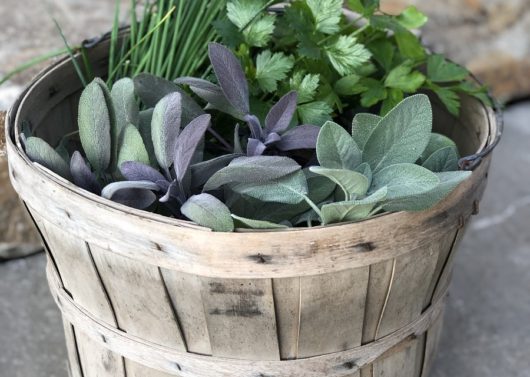
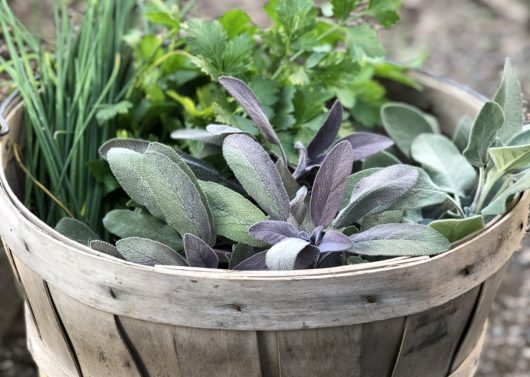
With the weather getting colder, you might be wondering what to do with all of your herbs sitting outside. Drying herbs not only saves them from frost, but also ensures you’ll have plenty of seasonings for your winter meals without having to run to the store. Drying herbs also concentrates the flavors so you’ll need less for your recipes than you would with fresh. There a few different ways that you can dry herbs in your home without too much work or extra materials. A couple of tips for drying herbs:
- You’ll want to harvest your herbs around mid-morning after the dew evaporates
- For the best flavor, harvest herbs before any flowers begin to form
- If you don’t have a ton of room for drying, stick to harvesting one kind of herb at a time
- Large leaved herbs such as sage and mint can be stripped off their stems before drying while more delicate, smaller leaved herbs like thyme, dill, and rosemary should be left on the stem until they’ve been fully dried.

Drying Methods
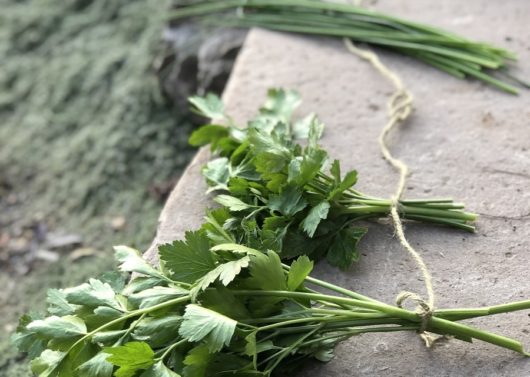
Hang Drying- Hang drying herbs works well for most kinds of herbs and the steps are pretty easy. Once you’ve harvested your herbs (and patted them dry if you washed them), create small bundles of each herb. Using twine, tie the bundles of herbs together by the stems. The small sized bundles will help avoid molding and rotting. Hang the bundles of herbs upside down (from their stems) in a well-ventilated area away from direct sunlight. You can loosely wrap them in a paper bag with holes poked in it or muslin to keep anything from falling and to keep out any dust, but this step isn’t necessary. Depending on the humidity in your area, your herbs should be dried in about a week to 10 days. Once they’re dry, remove the paper bag/muslin. You can continue to store them on the stem in their bundles or you can take them down and strip the herbs from their stems.
Rack Drying- This other air-drying method works a bit quicker than hang drying herbs. You can use cookie cooling racks (with small enough spaces so the herbs don’t fall through) or you can make your own drying rack by stretching a piece of cheesecloth or muslin over a wood frame and attaching it. Separate your herbs into individual stems/sprigs or leaves and space out them out on your drying rack. Same as with hang drying, place them in a well-ventilated area away from direct sunlight. Turn them often to make sure they’re drying out evenly. They should be dried out within a couple of days and then you can store them however you’d like.
Oven Drying- An even quicker way of drying herbs involves the use of your oven but you do run the risk of burning them if you’re not careful. The oven drying method works well for more robust herbs like rosemary, mint, and sage, but it can be done with other kinds. You’ll want to start out by removing the herbs from their stems. Lay a piece of muslin on a baking tray and then lay out your herbs in a single layer. Set your oven to the lowest possible temperature it will go to. Using an oven thermometer is a good idea for this method so that you know exactly what your temperature is at. It’s best to keep the oven no hotter than 100 degrees F. Put your herbs in the oven and leave the door slightly open so that any moisture can escape, and the oven doesn’t get too hot. Set a timer for 30 minutes and then you’re your herbs over and then let them for go for another 30 minutes. Turn the oven off, keep the door open, and let the herbs cool completely in the oven. If you’re oven tends to run hot, you might need to check on your herbs more often to make sure they don’t burn.

Food Dehydrator- If you live in a more humid area or you just happen to have a food dehydrator and want to give this method a try this is how you can dry herbs in one. This works well for those herbs with a higher moisture content like calendula (marigolds), basil, oregano, and tarragon that can sometimes easily mold with other air drying methods. You can either remove the herbs from their stalks or leave them on their stems but make sure the stems are cut short so they fit nicely in the dehydrator. Once prepared, place your herbs in a single layer on your dehydrator trays. If you have large leaved herbs or you aren’t drying a lot at once, remove the excess trays so that there is plenty of air circulation. Set your dehydrator to its lowest heat setting. It can take anywhere from 1 to 4 hours for herbs to fully dry with this method and depends on the moisture content in your herbs along with the humidity of that day.

Mesh Hanger Drying- Similar to rack drying, you can purchase a mesh hanger that’s made specifically for drying herbs. They come in various sizes and are usually a circular/tube shape with multiple trays for laying out herbs on. The mesh allows for plenty of air flow while a zipper keeps everything enclosed but easy to reach into. Depending on the type of fabric, you can even use this outside as long as it’s out of direct sunlight. You’ll want to prepare your herbs and lay them out just like with rack drying. If you find that one location in your house or outside isn’t working or drying your herbs out as fast as you’d like, it’s easy to move and collapses for easy storage. If you think you’ll be drying quite a few herbs, this might be a good investment for you.
Storing Herbs
Once dried, herbs can be stored easily for up to 6 to 12 months but of course you can use them right away, as well. Using a mortar & pestle or a spice grinder, you can grind them down or use your fingers to crumble them up or keep them as is and put them in resealable containers. If you want to keep them in clear containers, try to avoid placing in direct sunlight as this can make some herbs lose their color. As a general rule of thumb when using herbs, fresh herbs should be added to recipes close to the end or in the last step whereas dried herbs can be added earlier so you can help develop deeper flavors.
Have you tried any of these herb drying methods? What has been your favorite method? Let us know in the comments, we’d love to hear from you!
Organized under Edible Foliage, Edible Gardening, Edible Gardens, Trends. Labeled as dehydrating herbs, dried herbs, drying herbs, food dehydrator for herbs, fresh herbs, hang drying herbs, herb drying, how to dry herbs, how to store herbs, microwave drying herbs, oven drying herbs, rack drying herbs, storing herbs.


